
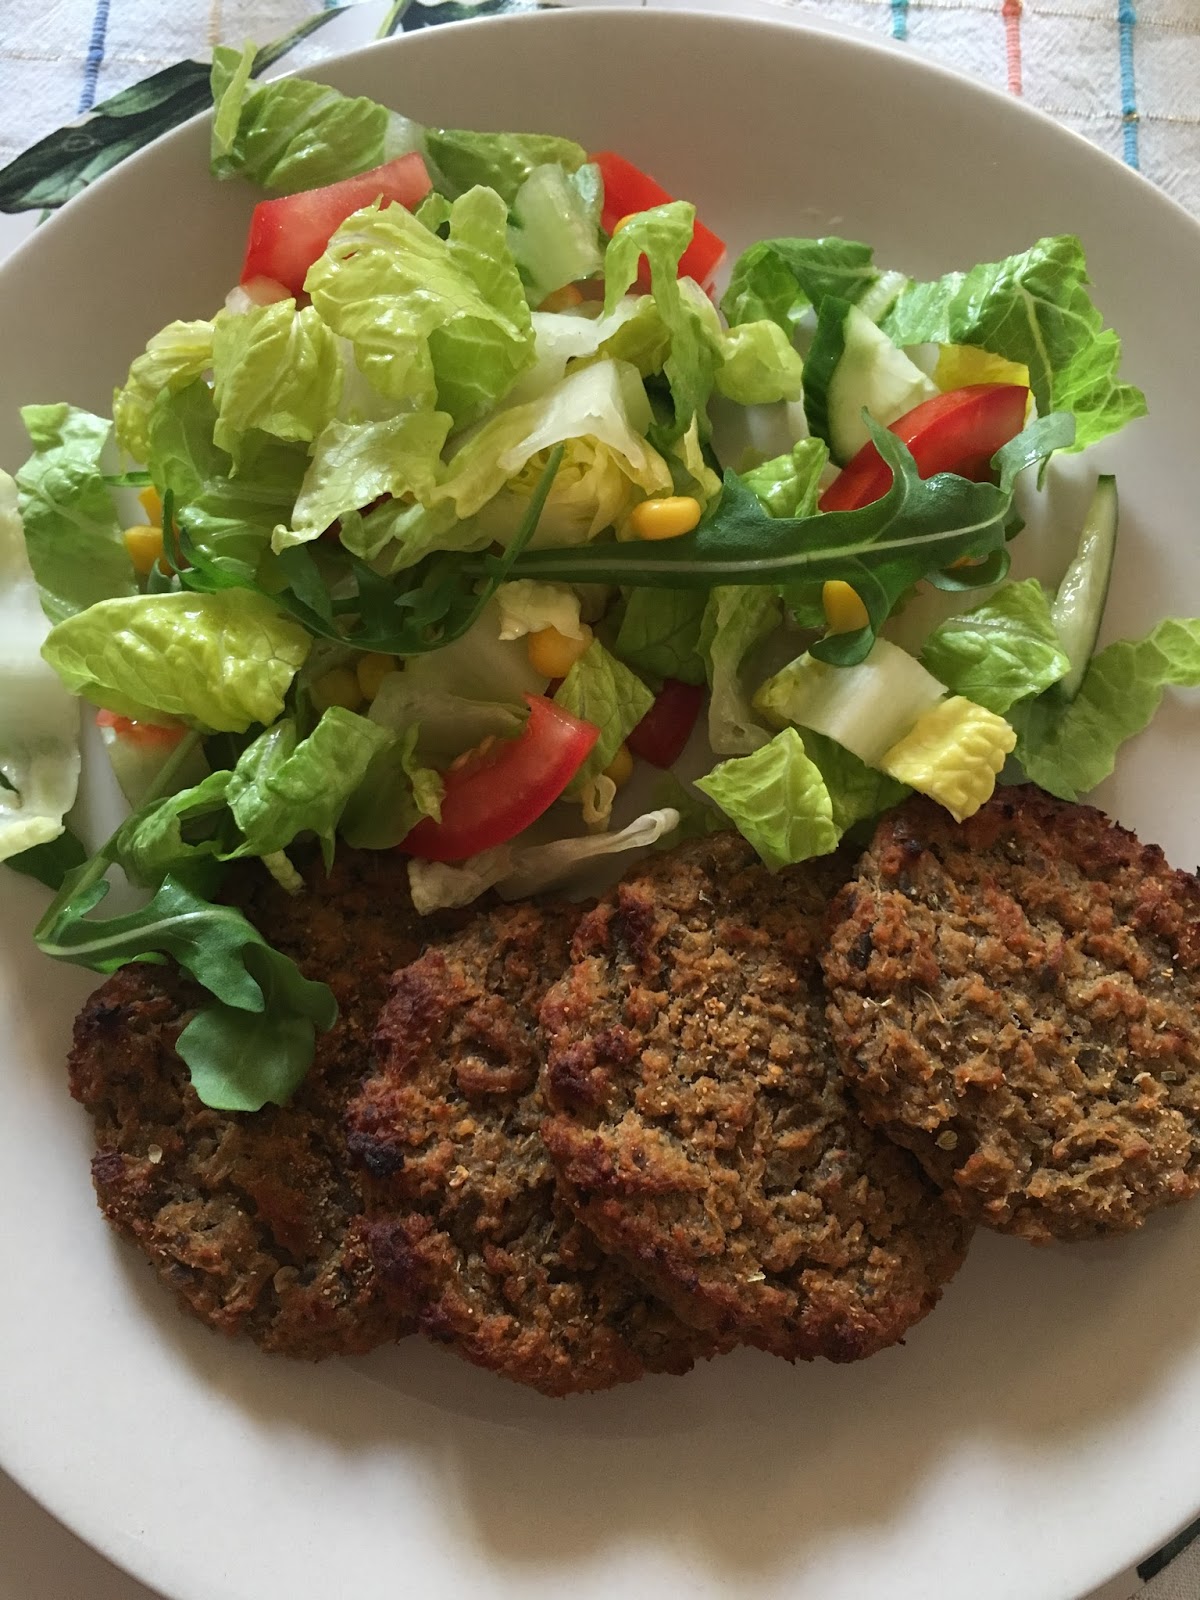
Ingredientes:
(8-10 hamburguesas grandes; 24 pequeñas)
- 1 berenjena grande
- 1 cebolla
- 1 zanahoria mediana (opcional)
- 200 gr de garbanzos cocidos (yo utilicé judías blancas)
- 30 ml de aceite
- 1 "no-egg" (reemplazante de huevo) o huevo si no tenéis esa restricción
- 4-5 cucharadas de pan rallado
- sal y pimienta negra a gusto
- Trituramos la cebolla y el ajo junto con la berenjena y lo ponemos a rehogar a fuego lento.
- Rallamos la zanahoria y la mezclamos con la cebolla y la berenjena.
- Trituramos los garbanzos o judías y lo mezclamos junto con la cebolla, berenjena y zanahoria, y rehogamos durante unos 10 minutos aproximadamente.
- Añadimos el "no-egg" y el pan rallado y lo mezclamos bien (si utilizáis huevo, dejad enfriad las verduras un poco para evitar que éste se cueza).
- Salpimentamos a gusto.
- La mezcla debe quedar con tal consistencia que se pueda manipular y formar las bolas. Si se desarma mucho, agregad más pan rallado hasta alcanzar el punto deseado. Esta es la parte que nos toca elaborar un poco a ojo, ya que dependerá mucho del tamaño de la berenjena, el huevo o reemplazante, si usáis o no zanahoria, etc.
- Precalentamos el horno a 180º.
- Formamos con las manos unas bolas, las colocamos sobre papel para hornear en una fuente y las aplastamos delicadamente para formar las hamburguesas.
- Espolvoreamos un poco de ajo en polvo y orégano por encima (opcional).
- Introducimos en el horno y las dejamos durante unos 15-20 minutos aproximadamente. De todas maneras aplicad vuestro ojo crítico, ya que cada horno es diferente. También dependerá mucho del tamaño y grosor de vuestras hamburguesas. La idea es que queden doraditas, pero no secas.
- Servir con ensalada u otro tipo de guarnición.
NOTA: En la receta original las hamburguesas se fríen o se hacen a la plancha. Yo las hago al horno y quedan muy sabrosas y, lo más importante... ¡son más sanas! La plancha es otra buena opción para evitar la fritura, pero no lo he probado. Si no se tiene una buena plancha anti-adherente podemos generar un verdadero desastre.
Podéis congelarlas perfectamente. Se colocan en un taper y se separan con papel film para que no se peguen. De esta forma también es más fácil a la hora de descongelarlas, ya que no será necesario sacarlas todas de una vez si no se quiere.
¡A disfrutar de un delicioso plato y dejar a los invitados con la boca abierta!
Receta original: www.thermorecetas.com/hamburguesas-vegetarianas-de-berenjena/

